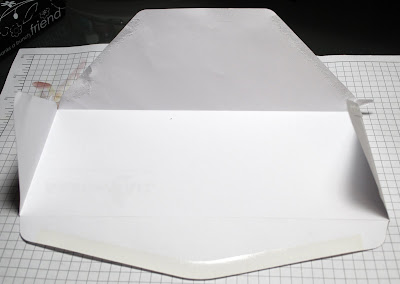
These first steps show the custom envelope that I made to go with my husband's birthday card (which I'll show in a day or two after he gets it). This is a very easy project that gives that final special touch.
First I opened up a #10 (approx. 9" x 4") envelope carefully so I could use it as a template. If you want your envelope made out of 12x12 double-sided designer paper, you'd lay your opened envelope down diagonally with the corner you see at the bottom of the first picture in one corner of the designer paper.
Trace around the opened envelope with a pencil and cut the entire thing out. Score, moving from corner to corner on all 4 sides, then fold them inward.
Put glue on the short sides, looking at your original as needed to see where the original was glued into shape.

I just had to make two swipes of glue and my envelope was mostly ready! But ... I didn't like that argyle pattern inside, so I decided to line my flap with the leftovers of the 12x12 piece I started with.

I used a glue stick to cover the entire flap, laid the leftover piece over with the dotted side out (or argyle to argyle) and pressed the pieces together. Then I turned it over and trimmed around the edge of the flap using the already trimmed pieces as a guide. You can see below that the argyle is still visible, but only if you open the envelope and look inside.


No comments:
Post a Comment